Let’s Play: Getting Creative in the Cleanup

Combining Play and Cleanup
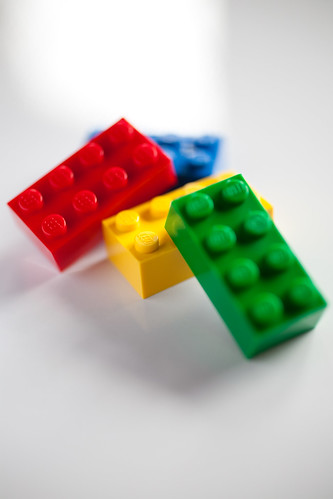 Many parents know someone who loves to build with those brightly colored, interlocking building blocks. It starts as a toddler with the bigger, chunkier version and continues up into the tween to teen years for some kids with the 2,000+ piece master builder sets that take hours and hours to complete. There can be some tiny and unusual parts. We always seem to have a few extra odds and ends after a big build. Do you have extra people heads or arms or a single square of floor tile?
While in search of a fun way to organize these bits and pieces, we came across an easy project that clearly connects the contents of the containers to the supplies inside. No need to label. Kids can have a creative-free play activity while helping you save the dog or the vacuum from sucking up little bricks and plastic body parts.
We started with the basic head and face. From here my daughter is planning faces and drawn accessories to help identify what is inside. A fancier face for heads that are very distinct and belong to certain characters. An angry face for jousting sticks belonging to knights. Maybe an actual accessory hot glued to the side…

We love this quick summer activity. It is fun. Building sessions become easier since smaller parts are easily found instead being lost in a giant tub of bricks. Clean up is easier and organized. We found many misplaced bricks. We also talked about ways to safely search online for ideas.
Supplies
- Empty baby food jars. Take a yellow plastic head with you to compare shapes. There are 3 to 4 basic baby food jars out there. Some match the head shape more accurately.
- Yellow, acrylic, craft paint. This is sold at many small shops and the larger big box crafts stores. Again take a head. This makes it easier to find the perfect yellow.
- Permanent markers—black, red, brown, blue, orange. These are the basic colors used on various faces.
Tips and Reminders
- Acrylic paint does not wash out of clothing.
- Allow the yellow paint to dry at least overnight. As the paint dries, it drips causing a thicker layer to build up at the bottom of the jar. That thick layer takes time to dry completely.
Super Easy Online Instructions
(Photo credits: (cc) Patrick Lauke; (c) Carrie St. John]
ABOUT THE AUTHOR

Carrie was born, raised and attended university in Michigan. As a child she rode bikes and explored her rural neighborhood freely with siblings and neighbor kids. Mom and Dad never worried. The kids always made it home after hours wading in the creek and climbing trees in the woods. After college she moved to Kyoto, Japan to study traditional Japanese woodblock printing. In 1995, she began a career at a small Chicago firm designing maps and information graphics. Life brought a move to Northampton in 2001. Carrie completed her MFA at UMass in 2004. Her little love, Sophia, was born in 2005. The two live in downtown Northampton where they constantly make things, look forward to morning walks to school and plan each spring for additions to their plot at the community garden. Carrie continues to do freelance work for clients here and in Chicago.